
Chicam tutorial
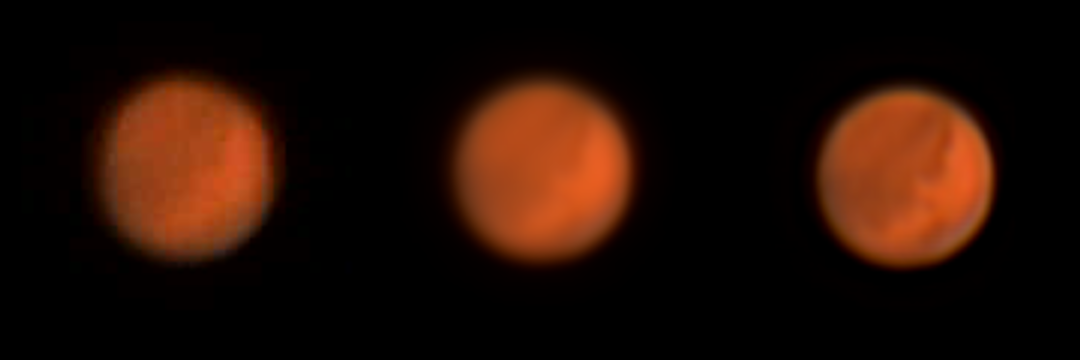
The obligatory before/after images. Left is a single frame, centre the stack of 441 frames, right the unsharp-masked stack. To do the stacking justice, view the 3x magnified version (click on image).
chicam is a set of software utilities I have written to perform part of astronomical image processing. In this tutorial we assume a blank Windows system. We start out with a movie clip in AVI format in which Mars has been recorded with a webcam through a telescope. The task is to combine the many noisy movie frames into a single high-quality image of Mars. The AVI data have been kindly provided by David Ogilvie of the Association of Falkirk Astronomers.
Install Cygwin
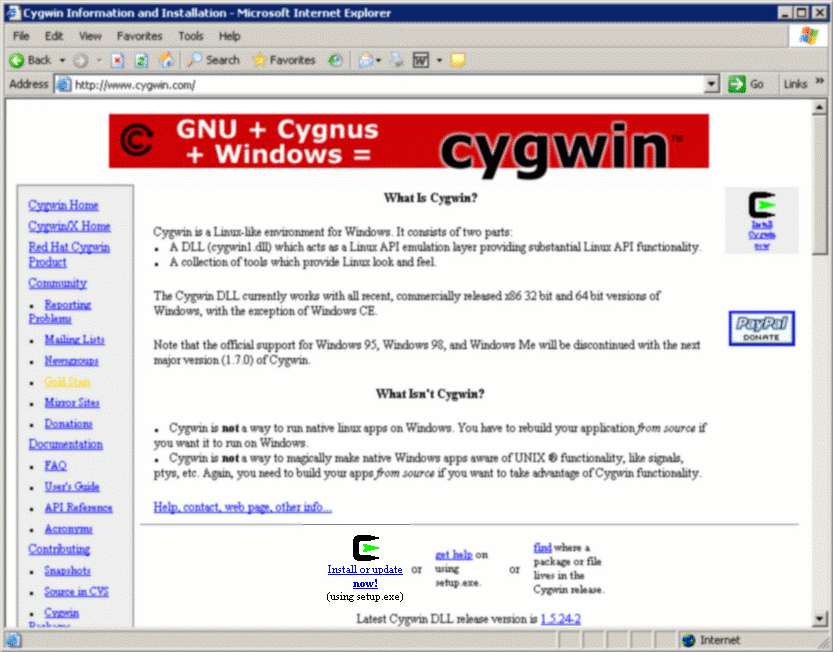
Cygwin web site with hyper-link to install.
My chicam utilities are written for Linux or a similar software environment. Cygwin provides just that on a Windows system. As such it opens up a parallel universe for Windows users with all sorts of goodies. This prospect must be somewhat daunting to users without Linux or Unix experience, but Cygwin is a requirement both for my chicam software and for the ds9 FITS viewer. It is also quite useful for the conversion from BMP to PPM that we perform in this tutorial, because it is easy to script the processing of many files in Cygwin. Cygwin is well worth the 60 MByte of disc space it occupies in our minimal installation.
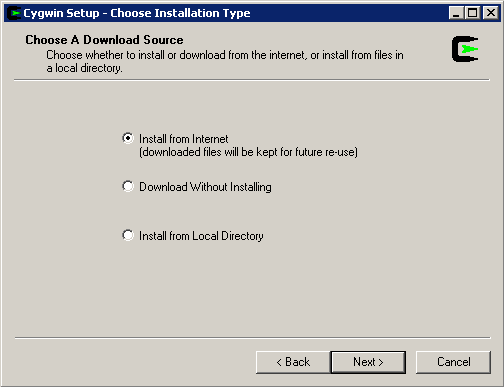
Install Cygwin form the Internet. |
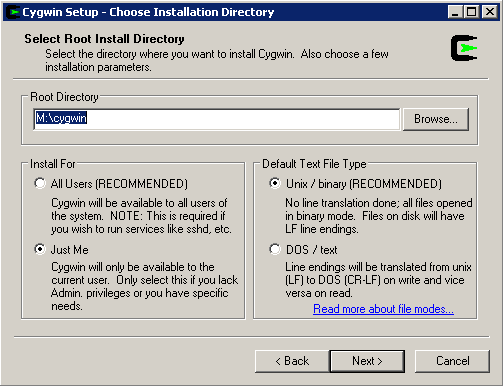
Install Cygwin as privileged or unprivileged user, into the top of the C:\ drive or into your Windows home directory. |
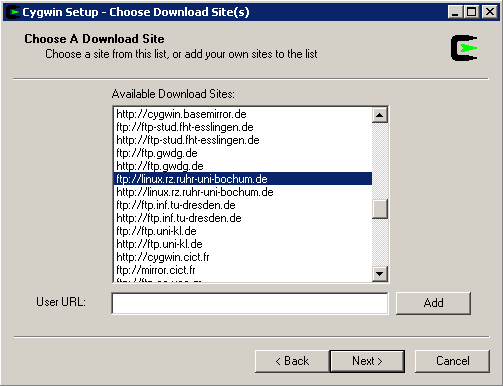
Select a mirror site to obtain Cygwin from. |
To start the installation, send your web browser to http://www.cygwin.com and click on the "Install or update now!" link. This will download a small Windows executable, which will handle the further download and installation of Cygwin. When prompted, allow it to run on your computer. When prompted about this being an "unknown publisher", allow it to run on your computer. On the splash screen, click "Next". On the next screen, choose "Install from Internet" and click "Next". On the next screen accept the default. In my example I am an unprivileged user; Cygwin will install into my home directory and there into a folder called "cygwin". My Cygwin home directory will be my Windows home directory. If you are a privileged user, then Cygwin will normally install into C:\cygwin and your Cygwin home directory will not be your Windows home directory, but will be C:\cygwin\home\user where "user" is your Windows user name. Any registered Windows user can then run Cygwin and all will have their Cygwin home in C:\cygwin\home.
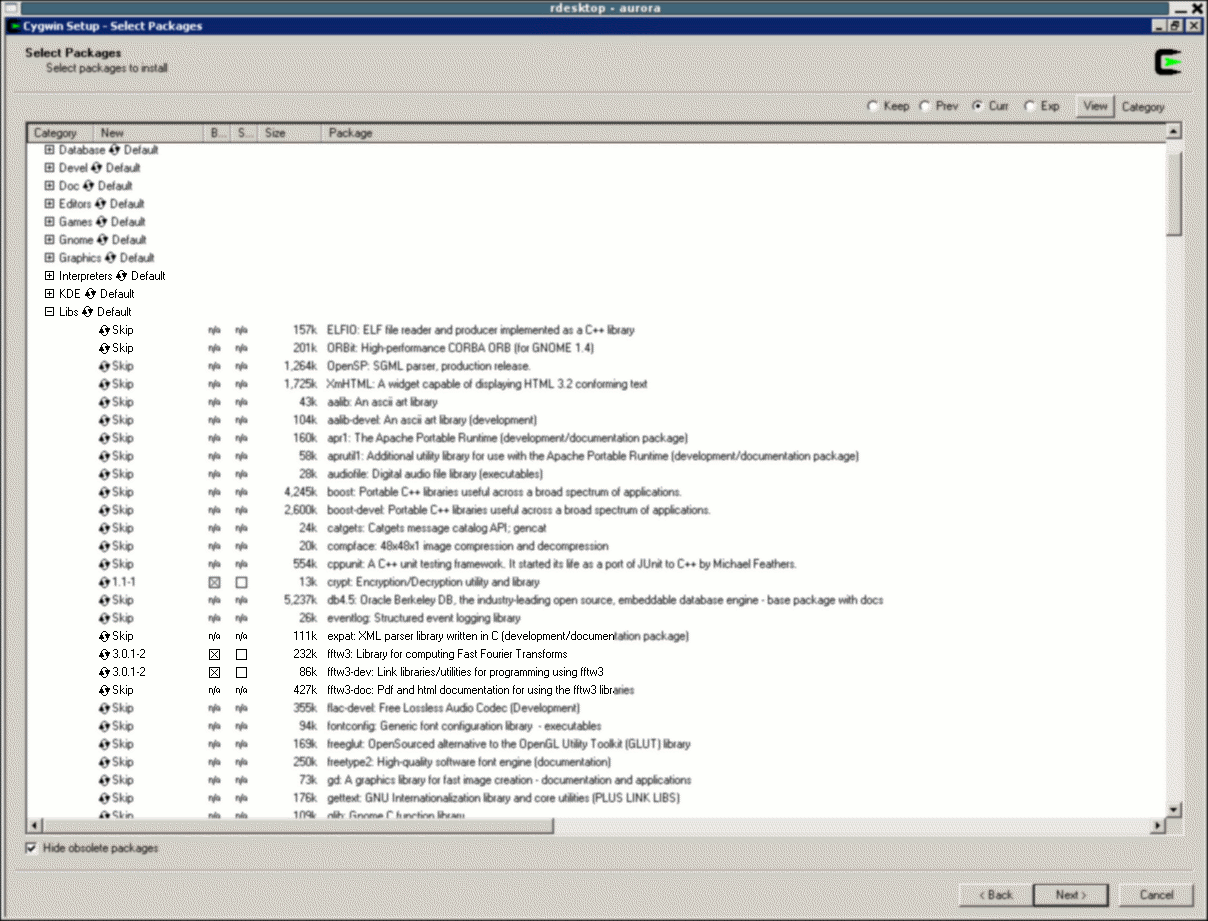
Select the packages as prescribed in the text.
In the next screen, just accept the default. This is normally your Desktop area. Cygwin will put a directory with downloaded files there. When the installation is complete, you can delete that directory. In the next screen, select "Direct Connection" unless you know better. In the next screen, select a mirror site from which to download. Please don't use the one I selected in the screen shot, but pick one in a country closer to you.
In the next screen you will need some time to configure which packages to install. The default is a very minimal Cygwin, and we have to add a few things. To open a section click on the "+" to its left, to select a package for installation click on the circling pair of arrows to change the state of the package from "Skip" to its version number with a cross in the box for installing the binary part.
- Open the Libs section and select fftw3 and fftw3-dev. These are required for chicam.
- Also in the Libs section, select libnetpbm10. This is also required by chicam.
- In the Graphics section, select netpbm. This is not required by chicam, but gives us handy commands to convert graphics formats.
- In the Archive section, select unzip and zip. These are not required by chicam, but give us Linux's utilities to unpack or create ZIP archives.
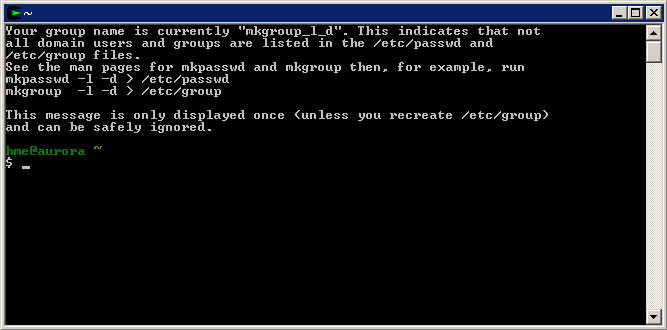
First invocation of the Cygwin bash shell.
When the package selection is complete, click the "Next" button. The installer will now show the progress of the installation until it completes. In the next and final screen, confirm to create the Desktop icon (or have something added to the Start Menu if you prefer to work that way). Finally hit the "Finish" button.
Remember that you may - and should - remove the temporary directory where files have been downloaded to.
Your desktop now has an additional icon, you double-click it to start a Cygwin command line shell. For those familiar with Linux or Unix, this is a bash shell. Start a shell right now, there are one or two things Cygwin has to do to set you up as one of its users. You can quit the shell (by typing the command "exit" and hitting the Return key) as soon as it reports that it has done the setup for you.
Install avi2bmp
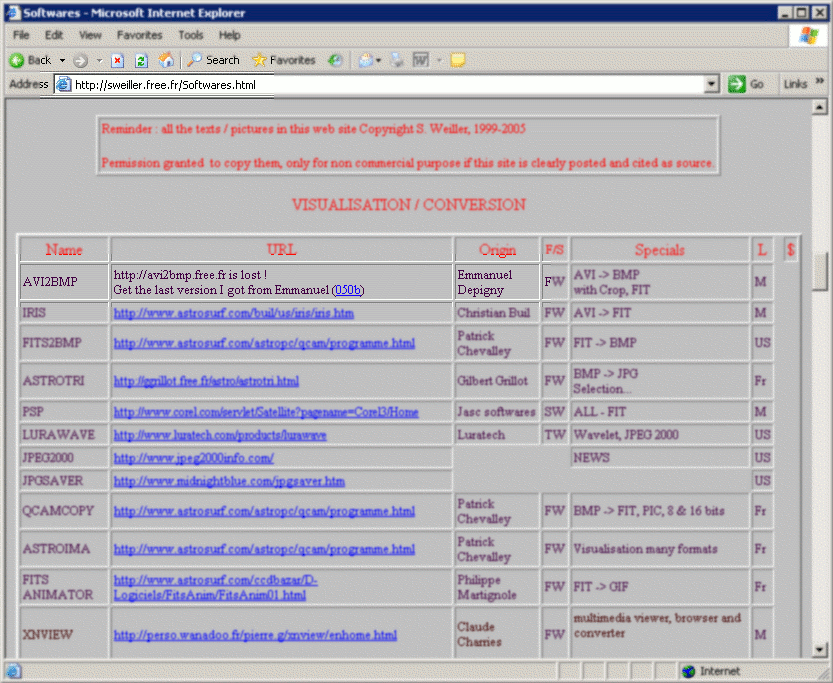
Finding avi2bmp.
This step can be skipped if the input frames are already in PPM format, or a format that Cygwin netpbm can convert to PPM.
avi2bmp is no longer being developed and is in fact no longer available from the author, Emmanuel Depigny. Fortunately, Sylvain Weiller has kept his copy and makes it available on the web. Send your web browser to http://sweiller.free.fr/Softwares.html and about a third into the page find the table entry for AVI2BMP; download the file "avi2bmp050b.zip" to your Cygwin home directory. (Your Cygwin home directory is where the Cygwin shell starts up.)
Start a Cygwin shell and type in the commands to create a directory for avi2bmp and to unpack the application into it:
cd ~
mkdir avi2bmp
cd avi2bmp
unzip ../avi2bmp050b.zip
cd ~
rm avi2bmp050b.zip
Cygwin uses the forward slash "/" instead of Windows' backslash "\" in file and folder names. ".." stands for the parent folder one level up.
If you did not install Cygwin's zip and unzip packages then you have to unpack this ZIP archive another way.
Convert AVI to BMP
If you have the frames in BMP or PPM format already, you can skip this step. If you have software other than avi2bmp for this, use that instead.
Assume we have our AVI file in its own folder F:\temp\hme\mars.avi. Start a Cygwin shell and change to the folder. Cygwin knows alternate drives as "/cygdrive/f" if "f" is the Windows drive letter:
cd /cygdrive/f/temp/hme
The avi2bmp application is the file "avi2bmp.exe" in the folder avi2bmp under your home directory. You can refer to your home directory as "~" or "$HOME", and so you can run the application as
~/avi2bmp/avi2bmp
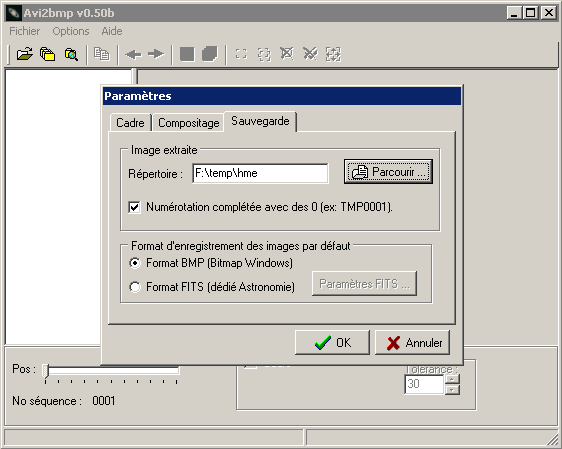
Select the output folder and format.
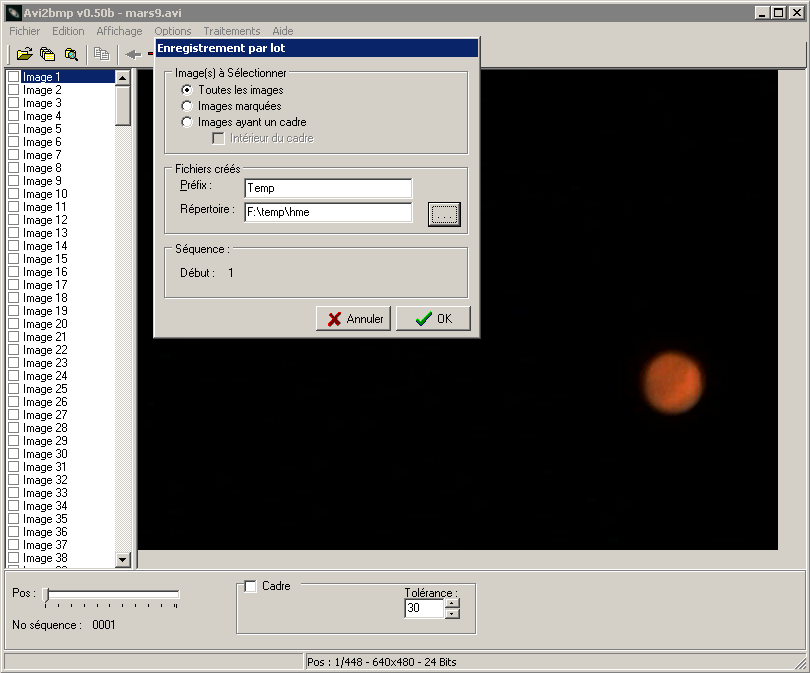
Save all frames (as individual BMP files).
Before you open the AVI file, go into the Options : Paramètres dialogue and there into the Sauvegarde tab. Select the output folder to be the same as where your AVI is, and make sure it puts out BMP rather than FITS.
Now open the AVI file with Fichier : Ouvrir. You will see the first frame and on the left a list of frame numbers with tick boxes. You can click on any frame number to see that frame, and you can tick the frames you want to process. We need not waste time on that and can simply write out all frames with Fichier : Enregistrement par lot. In the dialogue select Toutes les images. Make sure Répertoire is set to the working directory with the AVI, so that the BMP files go there, too. After hitting "OK" you will see the progress bar for writing all the frames to BMP files, one by one. When this has finished, you can quit the application.
Convert BMP to PPM
chicam cannot stack BMP frames, we have to convert them one by one to PPM format. If you installed the Cygwin package netpbm you have the tools to do this. The command is a bit complicated, but here it is:
for f in Temp*.bmp ; do
  bmptopnm < $f > `basename $f .bmp`.ppm
  rm $f
done
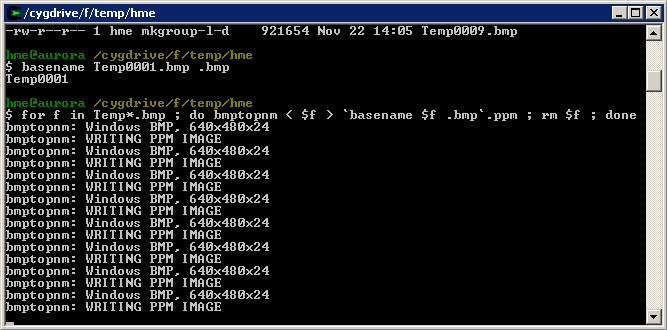
bmptopnm reports each file processed.
What does it do? It converts each BMP frame into a PPM frame and removes the BMP original. How does it do it?
for f in Temp*.bmp ; do ... done- This sets up a loop that is run through for each file name that matches the pattern "Temp*.bmp", i.e. any file name that begins with "Temp" and ends with ".bmp". In each turn of the loop the variable "f" is set to the name of the file in question.
bmptopnm < $f > ...- This does the format conversion from BMP to PPM. "PNM" is a name for the group of formats PBM/PGM/PPM. Since the BMP input is colour, the output will be the colour variety, PPM. The input to the command is the BMP file, referred to as "$f" - the value of variable f. The output from the command is written to a file the name of which we look into next.
`...`.ppm- We use this here as output file name for bmptopnm. The ".ppm" bit makes sure we recognise it as a PPM file. What is between the backquotes is another command, and we use whatever it puts out as part of our file name.
basename $f .bmp- The basename command takes its first argument - here a file name like Temp0123.bmp and removes from its end the second argument, here ".bmp". So the result from this basename command is something like "Temp0123". Add to that the string ".ppm" and we have converted the name from a BMP file name to a PPM file name.
rm $f- This is the command to remove a file. The file removed is the BMP file we have just converted to a new PPM file.
The loop will take a while. Fortunately the bmptopnm command will keep you informed of the progress, for it reports each input file and each output file. When you get the shell prompt back it has finished the format conversion.
Install chicam
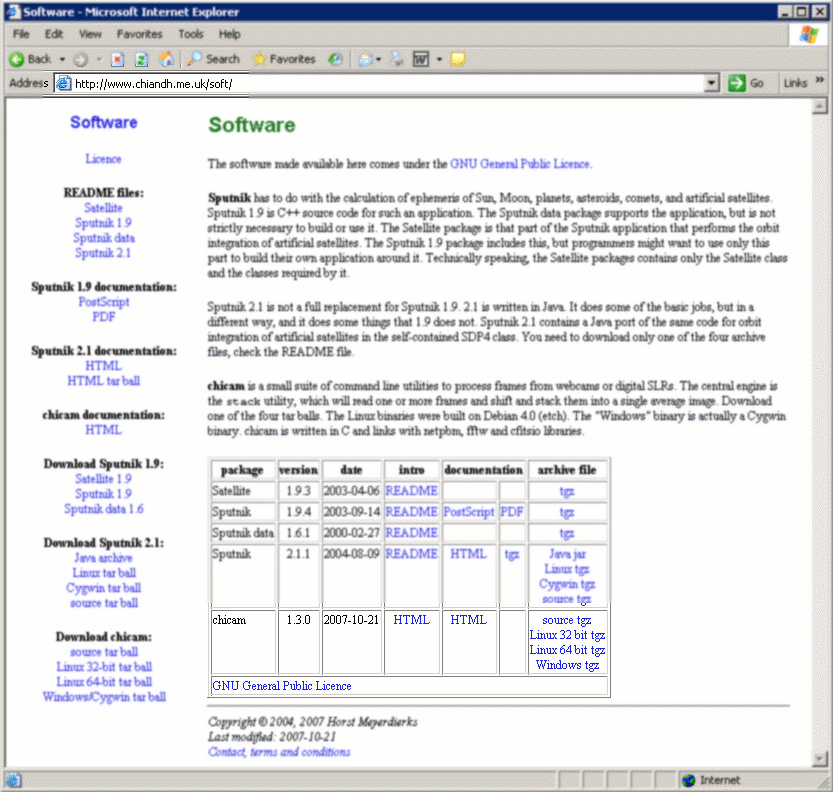
Download the Windows tar ball for chicam.
Send your web browser to http://www.chiandh.me.uk/soft/ and download the "Windows tgz" file into your Cygwin home directory. When you uncompress and unpack it, the contents end up automatically in a sub-folder "chicam-1.3.0", assuming the software version is 1.3.0. Unpack and then rename the directory to be called "chicam". Do this from the Cygwin shell, a DOS shell won't be able to do this:
tar -zxf chicam-1.3.0-cygwin.tgz
mv chicam-1.3.0 chicam
When I tried this download I actually ended up with a file called "chicam-1.3.0-cygwin.tar" instead. This sort of thing can happen when you download gzip-compressed TAR archives. They are properly named "file.tgz" or "file.tar.gz", and the web browser sometimes decides to uncompress it and thence to store it as "file.tar". In my case, though, the file had the latter name but was still compressed. So if the tar command does not work, first make sure the file name is as stored by your web browser, and second remove the "z" option if the file has been uncompressed already (i.e. "tar -xf").
Stack the frames
After stacking and removal of all PPM files we have three FITS files for red, green and blue, resp.
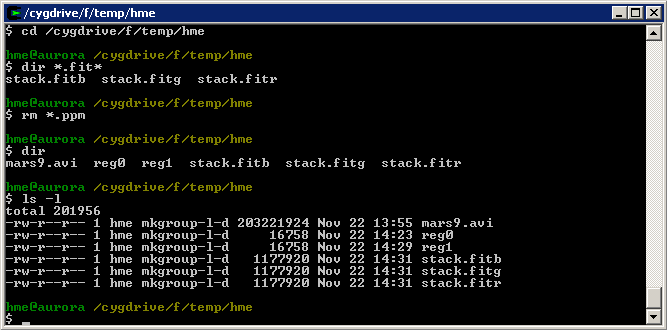
Take your Cygwin shell to the folder with the PPM frames.
cd /cygdrive/f/temp/hme
We first have to make a frame registry of the frames in a file we call "reg0". The newreg.sh utility will make such a registry, listing all PPM files (and also any FITS files if would recognise).
~/chicam/newreg.sh > reg0
Now that we know which frames there are we determine the shifts between frames. This creates a new registry "reg1" in which the zero shifts of reg0 are replaced with the actual shifts:
~/chicam/regist reg0 > reg1
This takes quite a while and makes no output at all. Amuse yourself by looking at the CPU load or memory use. Now that the correct frame shifts are known, we can stack the frames into a single average image:
~/chicam/stack reg1 stack.fitc
This uses the registry reg1 to know which frames to use and by how many pixel to shift them. The output is not a single file "stack.fitc", but three files "stack.fitr", "stack.fitg", and "stack.fitb". Each file contains one colour channel, red, green and blue, resp. Again, stacking will take a while, and again there is no progress feedback. Return to your CPU/memory monitor for something to look at.
Align red, green and blue
Although the 441 frames have been aligned with each other to make a much better image, in this image the red, green and blue colour channels are still slightly shifted against each other. This is measureable only at very high magnification, such as the webcam-imaging of the planets. To fix this shift - which is caused by the Earth's atmosphere - we simply hand the stacked image (all three colour channels) to the colalign command. We get out a new image (again three colour channels):
~/chicam/colalign stack.fitc align.fitc
Observe how both input and output are given as ".fitc" meaning a triplet of files .fitr, .fitg and .fitb. colalign also gives no progress feedback, but it works very quickly - there are only three frames to align.
Install SAOimage ds9
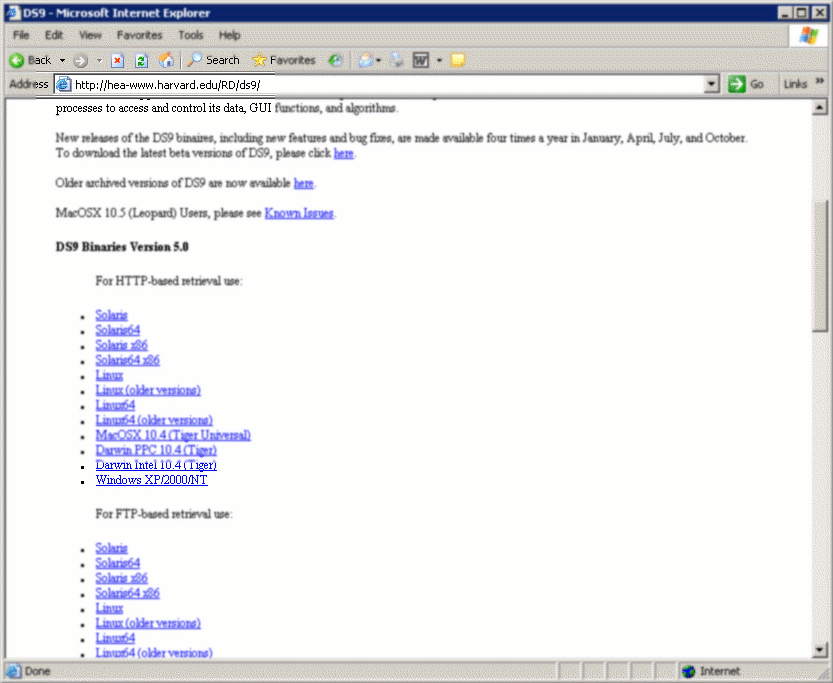
Download the Windows executable.
If you have software to view FITS files you can skip this step.
There are quite a few FITS viewers around, and several of them can run on Windows. NASA have a list of FITS viewers at http://fits.gsfc.nasa.gov/fits_viewer.html. Here, we install SAOimage ds9. It is related to the IRAF data reduction and analysis package used by professional astronomers. Send your web browser to http://hea-www.harvard.edu/RD/ds9/ and download the Windows binary into your Cygwin home directory. You can then use unzip in the Cygwin shell to unpack the ZIP archive.
cd ~
mkdir ds9
cd ds9
unzip ../ds9.windows.5.0.exe
rm cygwin1.dll
cd ~
It turns out that we have been given an extra copy of a Cygwin shareable library. We do not need this, since we have Cygwin already. If you did not install the Cygwin unzip package, then you will have to execute the downloaded file to use its self-extractor.
Convert FITS to colour PNG
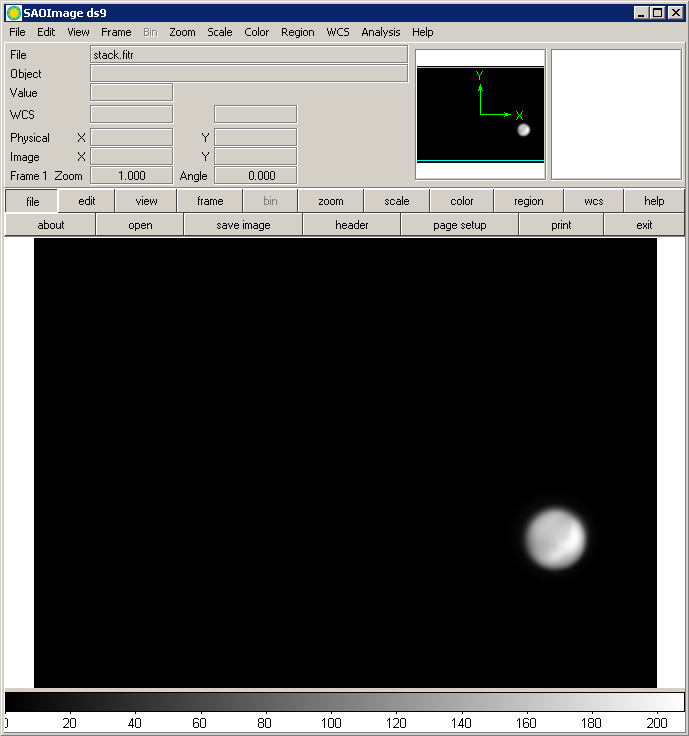
Red channel of stacked image loaded into ds9.
We now use ds9 to have a look at the red channel of our stacked image. For Mars red is the brightest channel and we will be able to see what brightness range actually occurs. If you have other FITS viewer software you should be able to use that instead. Start up ds9 from the Cygwin shell
~/ds9/ds9.exe
then use the File : Open menu item to load and display the file stack.fitr (or align.fitr). The software does not know this is a red channel, and so displays it as a grey image. The grey wedge at the bottom indicates that the brightness values run from 0 to about 210. You can also move the cursor over the image and see the brightness of the pixel under the cursor displayed in the top panel.

The stack turned back into a colour image.
truec in chicam takes the three colour channels .fitr, .fitg and .fitb and combines them into a colour image in PPM format. It is obligatory to apply a contrast stretch, and that's why we looked with ds9 what the brightness range is in the FITS input. We choose black for input values of zero and white for input values of 230. We do not actually want PPM as output format, because it is somewhat wasteful in terms of file size. PNG format uses a loss-free compression, and we plug a conversion from PPM to PNG behind the truec command:
~/chicam/truec align.fitc 0 230 \
  | pnmtopng > align.png
Find the PNG file with Windows Explorer and double-click to display it.
Apply an unsharp mask
If it is so difficult to see a colour image in FITS format and if it is so easy to see it in BMP, PPM, PNG, JPG, etc., why do we use FITS format? The reason is that FITS can store the data much more accurately. If you have just one BMP file from your webcam that does not matter, but if you have hundreds to stack, then the stacked result must be stored with much better quality. FITS often uses 16 or 32 bit to store each number, instead of the common 8 bit in the graphics formats. So we use FITS during processing to maintain high data quality, and we may use it to archive the data at full quality. When we want to show the image to other people we have to convert to a more common format with reduced quality. We should therefore do all processing - such as contrast stretch - before that conversion and not afterwards.
The same goes for an unsharp mask to emphasise the small detail and to enhance contrast. This is best done while the image is in FITS format. You may have a very good unsharp-masking function in your favourite image processing application like the Gimp or Photoshop, but you can also do it with chicam while the data is in FITS format.
~/chicam/unsmsk 5 0.8 align.fitc mask.fitc
This takes a little while to process. Do experiment with the parameters. The first parameter is the smoothing width. As you increase this number the background taken away is more and more smooth. Perhaps not so obviously, what remains in the output image will also be smoother. To bring out smaller detail you have to make the width smaller. The second parameter is the fraction of the smoothed image to subtract. The bigger this number the more agressively you emphasise the small detail and suppress the smooth content of the input image.
We have applied quite a strong mask above (the second parameter being 0.8 is quite close to 1.0). If we inspect the masked red channel in ds9 we find that the brightest pixel now is only 45 instead of the original 210. When we convert to a graphics format we have to apply a stronger linear stretch, or the output will be too dark:
~/chicam/truec mask.fitc 0 50 | pnmtopng > mask.png
The masked data do also go below zero in places, but usually one wants to hide that fact and so we stick with turning zero input values to black in the output.
As you see, we need a high contrast enhancement for unsharp-masked data. That means that any noise in the input is amplified, and therefore the input data must have much lower noise than we would normally require. That is really why (i) we use hundreds of frames in the stack and (ii) we use high quality FITS storage all the way from averaging the frames through unsharp-masking to stretching the contrast.
The obligatory before/after images. Left is a single frame, centre the stack of 441 frames, right the unsharp-masked stack. To do the stacking justice, view the 3x magnified version (click on image).
